In this post I will show a nice way to test if a view controller got
pushed onto the navigation stack as a result of an event.
Let’s say we have button on a view controller. When the user taps the
button, a detail view controller should be pushed onto the navigation
stack. How can we test this?
Easy! We will use a mock for the navigation controller. The mock looks
like this:
Since I wrote the table view data source code in Part 8, I have
experimented with table views and table view cells a lot. And I found a
way of setting the data in the cell that I like more now. Most probably
that will change in the future. That is the point of being a developer.
Code I write today will probably scare me in half a year. I fear the day
when this stops. Change of preferences is a good thing. Without it I’d
have stopped improving.
Again I haven’t written a post in a long time in this series. And even
this post isn’t a real post. It’s just a correction and and I’ll tell
you the reason why I was so busy during the last months. There will be a
real post soon. Stay tuned. :)
If you follow this blog for some time you might have realized that one
of my favorite testing problems is the stubbing of NSURLSession.
In case you are not familiar with the terms, stubbing means to fake the
answer of a method. In the case of NSURLSession this means that we fake
the web API response. This has several advantages. For example:
We don’t need a working web API to developer the network requests of
our app.
The response is instantaneous. This results in a faster
feedback loop.
The tests can run on a computer that has no internet connection.
Normally the stubbing of NSURLSession requests is done using
NSURLProtocol. Libs doing that are for example
OHHTTPStubs and
Mockingjay. The advantage of
using NSURLProtocol is, that the stubbing also works when using libs as
Alamofire for the network
requests. This works great but for me this is to much code. I would have
to study and understand that code to get the desired confidence im my
tests.
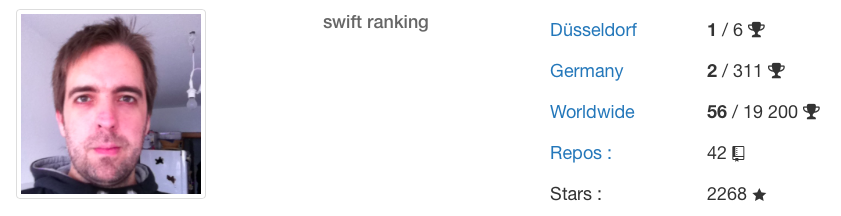
There is this new site github-awards.com
that analyzes a github account and rates it according the number of
stars its repositories got. According to that site, my Swift
rankingworldwide is 56. Holy shit! 56!
I don’t know about you, but I tend to forget that there is a responder
chain in iOS. This post is to remind myself (and you) that the responder
chain exists and that we can use it to react to button events.
The Responder Chain
In iOS, events (for example touch events) are delivered using the
responder chain. The responder chain consists of responder objects
(Apples words, not
mine).
If you have a look at the documentation, you may have noticed that UIView and
UIViewController are
responder objects. This means they inherit from UIResponder:
When the user taps a view in the view hierarchy, iOS uses hit testing to
figure out which responder object should get the touch event first. The
process starts at the lowest level, the window. Then is propagates up
the view hierarchy and checks for each view if the touch happened within
its bounds. The last view in that process that got hit, receives the
touch event first. If that view does not respond to the touch event, the
event is passed to the next responder in the responder chain. Apple has
a nice example how this works
here.
When a view tells iOS that it did not get hit, the subviews of that view
aren’t checked.
This has an interesting consequence. When a button is outside of the
bounds of its superview but visible because clipsToBounds of the
superview is set to false, it does not
receive any touch events. So, when ever a button doesn’t work, remember
to check if it is in the bound of its superview.
Let’s say you have three subviews in a view. Two subviews at the top and
the third one below. The views at the top can have different heights and
it’s not clear which one is taller. Now we want to have the Auto Layout
to manage that the distance of the view at the bottom to the views at
the top is at least 10 points.
How can we do that? The trick ist to implement it using inequalities and
priorities. The relevant constrains look like this:
Larhythimx is totally right. The init method of the mock is never
called. The reason why I didn’t see this when I wrote the test is, that
the handler is actually called. It looks like the real UIAlertAction does
use handler as the hidden internal variable to store the handler closure
of the action. This is fragil and Larhythimx mentions in another tweet
that the handler is nil in test he tries to write.
It have been too long since my last post. Sorry about that. I’m really
busy right now. More on that in a few weeks, I guess. :)
In the last
post
we have added a pattern image to the birthday cell. In this post we will
make the progress the patter is showing reflecting the time left until
the person has birthday again.
Open BirthdayCell.swift
and add the following property:
varpatternWidthConstraint:NSLayoutConstraint?
Next replace the hard coded trailing constraint with a dynamic
constraint:
// Replace thislayoutConstraints.append(patternView.trailingAnchor.constraintEqualToAnchor(trailingAnchor,constant:-150))// with thispatternWidthConstraint=patternView.widthAnchor.constraintEqualToConstant(0)layoutConstraints.append(patternWidthConstraint!)